Media Wall Design Service
Design Your Media Wall
With Our In-House Team
Six decisions turn a blank wall into a finished bespoke media wall: measurements, screen size, fire, finish, lighting and layout. Send us your room dimensions and we will draw it properly in CAD before anything is built.
Design Steps
The Six Decisions Behind
Every Media Wall We Build
Work through these in order and the design almost draws itself. Get them out of order and you end up compromising on the screen, the fire or the storage.
1. Measure the Wall
Wall width, ceiling height, skirting depth, cornicing, chimney breast projection and any radiator or socket in the way. Millimetres matter — a design drawn from rounded numbers never fits cleanly.
2. Fix the TV Size
The screen sets the proportions of everything else. We size the recess with tolerance for a future upgrade and plan ventilation and cable routes behind it from the start.
3. Choose the Fire
Fire width drives the base unit. Compare eReflex, Avanti and FireFX styles for flame depth and viewing shape, then decide whether the fire sits below the screen or offset to one side.
4. Pick the Finish
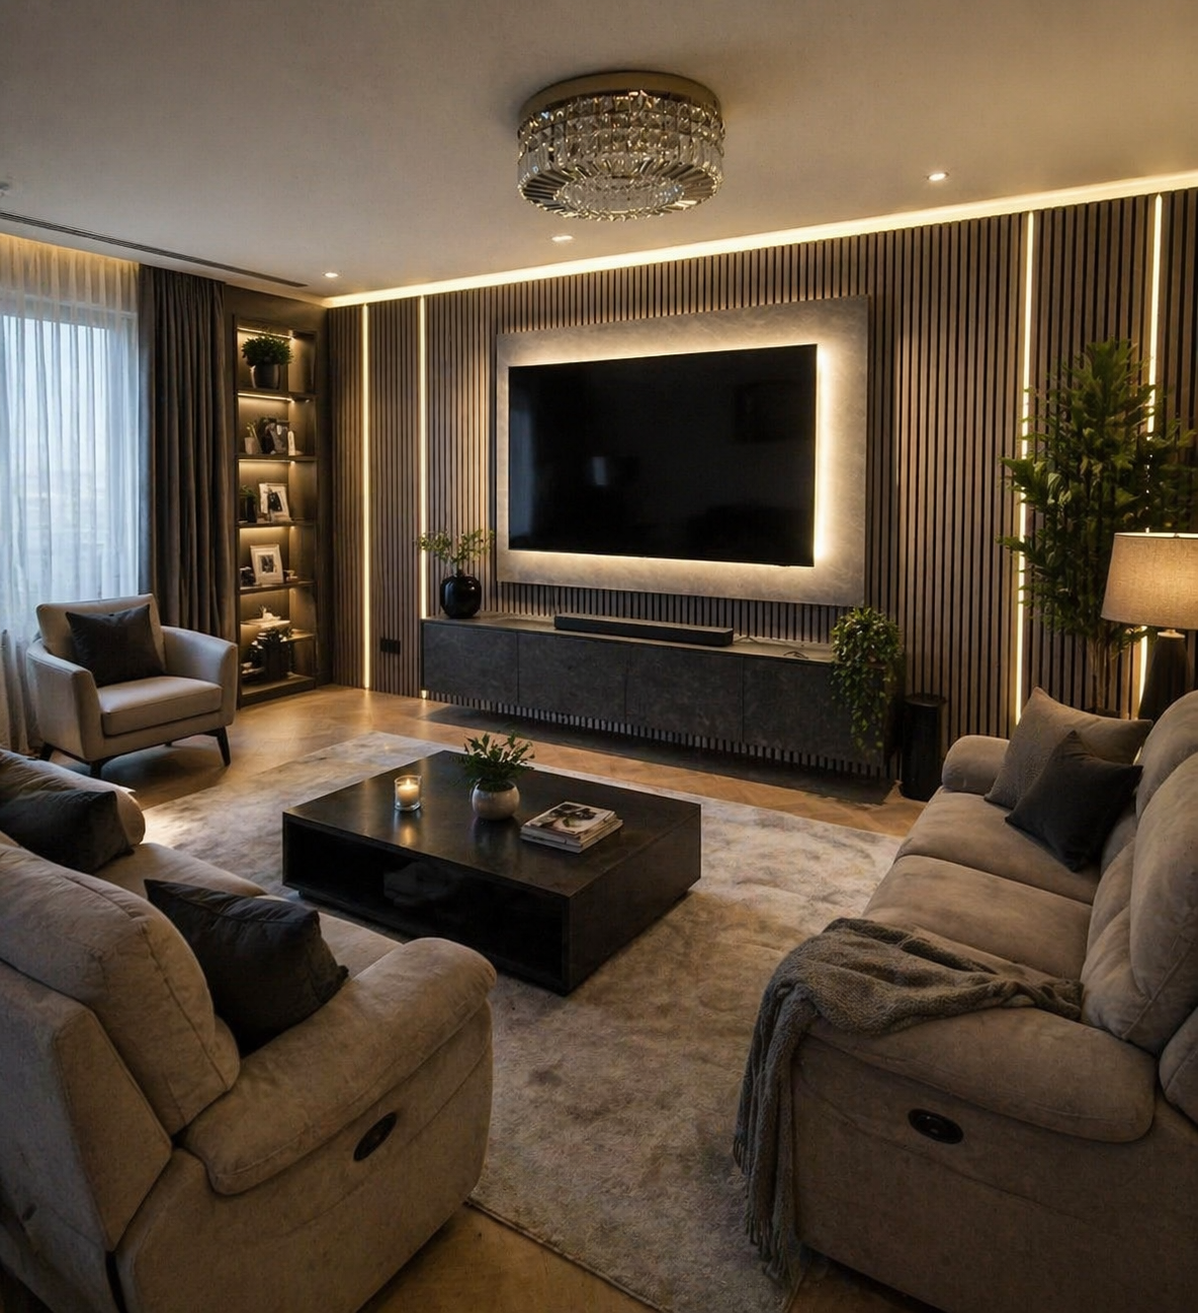
Painted, stained, veneered, fluted or slatted. Dark tones make a dramatic focal wall; lighter finishes keep small rooms open. We match to your existing woodwork and flooring.
5. Plan the Lighting
Concealed LED behind shelves, uplighting in display niches, colour-changing strips or plain warm white. Decided now, wired during the build, invisible when finished.
6. Approve the CAD
You see a scaled drawing with every dimension, finish and fixture marked before manufacture begins. Nothing is cut until you are happy with the drawing.
Layout Options
Six Media Wall Layouts
That Suit Scottish Rooms
Full-Wall Symmetrical
Television centred, fire directly beneath, matching cabinetry and shelving either side. The most requested layout and the easiest to live with in a square living room.
Chimney Breast Focus
Design built onto the existing breast with fitted alcove units flanking it — ideal for Victorian and 1930s homes where the breast cannot be removed.
Offset Asymmetric
Screen and fire pushed off-centre to balance a door, bay window or awkward corner, with a tall cupboard on the opposite side restoring visual weight.
Slimline for Small Rooms
Shallow-depth build with a slim fire and floating shelves, adding a full feature wall to compact flats without stealing usable floor area.
Media Wall & Bar Combination
A continuous run pairing the screen and fire with a bespoke drinks bar — see our dedicated home bars page for finishes and layouts.
Panelled Feature Backdrop
Fluted or shaker panelling wrapping the whole wall behind the joinery, adding texture and depth for a high-end, architectural finish.
How to Design a Media Wall That Actually Fits Your Room
Most people begin designing a media wall by picking a picture they like. That is a reasonable place to find inspiration, but it is a poor place to start a build. The image was designed for someone else's wall width, ceiling height, seating position and television. Copying it usually means either shaving the design down until it loses its proportions, or forcing it in and living with a unit that feels too big for the room. The better approach is to start with the constraints and let the design grow out of them.
That is what our design service does. Rather than an automated online configurator that guesses at your room, our team works from your actual measurements and photographs, produces a scaled CAD drawing, and then refines it with you before anything reaches the workshop. Over 200 installations across Scotland have gone through exactly this process.
Step One: Get the Measurements Right
We need wall width, floor-to-ceiling height, skirting height and depth, cornicing detail, chimney breast projection if there is one, and the position of every socket, switch, radiator, aerial point and light fitting on or near that wall. Older Scottish properties are rarely square, so we also check whether the wall bows and whether the floor runs level. A design drawn from tidy round numbers will always leave a visible gap somewhere; a design drawn from real measurements and scribed on site will not.
Step Two: Choose the Television First, Not Last
Screen size sets the proportions for everything else — the height of the base unit, the width of flanking cabinets, the depth of shelving. A useful guide is to multiply your viewing distance in metres by around twenty to get a comfortable screen size in inches, so a 3 metre distance suits roughly a 60 to 65 inch screen. We build the recess with tolerance so a future replacement television, usually slightly wider, will still fit without dismantling the unit. Ventilation and cable routing behind the screen are planned at the same time, along with space for a soundbar, console or streaming box.
Step Three: Pick the Fire and Its Position
The electric fire is the emotional centre of the wall, and its width dictates the base unit. Deep-reflection models such as the Gazco eReflex 150RW give the most convincing sense of depth, while the Avanti range covers 110 to 190 centimetre widths at strong value. Decide whether the fire sits directly beneath the screen, which reads as classic and symmetrical, or offset to one side, which suits long walls and open-plan rooms. Remember that fireplaces are quoted separately from the base joinery packages, so you keep full control over that part of the budget.
Step Four: Finishes, Colour and Texture
Finish choice changes how large the wall feels. Deep charcoal, navy and walnut tones make the unit recede and the flame stand out, which works beautifully in larger rooms and snugs. Lighter painted finishes and pale veneers keep compact rooms feeling open. Fluted and slatted panelling adds shadow and texture without depth, and shaker framing suits period properties where flat slab doors would look out of place. We match to your existing woodwork, flooring and wall colour rather than working from a fixed palette.
Step Five: Lighting Design
Lighting is the detail people notice last and love most. Warm-white LED strips behind floating shelves, uplighting inside display niches, downlights washing a panelled backdrop, or colour-changing strips for film nights — all wired during manufacture and installation, controlled by remote or a discreet wall switch. Decide this at design stage; retrofitting lighting into finished joinery means visible trunking or unnecessary damage.
Step Six: Approve the Drawing, Then Build
Once the decisions above are settled you receive a scaled CAD drawing showing dimensions, finishes, the fire, shelving, lighting positions and cable routes. Nothing is cut until you approve it. Manufacture then takes three to five weeks in our Livingston workshop, and installation is usually completed in a single day for a standard media wall, with larger builds or bar combinations running two to three days. The full journey is set out on our how it works page.
To begin, browse our media wall range and recent installations for inspiration, look at fitted furniture if the project extends beyond one wall, visit our Livingston showroom to see finishes in daylight, then submit an enquiry with your measurements and photos.
Design FAQs
Media Wall Design — Common Questions
Do you have an online media wall builder or design tool?
We do not use an automated online builder, because a configurator cannot see your chimney breast, ceiling height, socket positions or seating sightlines. Instead we do the same job properly: send your room dimensions and photos, and our designers produce a scaled CAD drawing of your media wall, with finishes, fire and lighting shown as they will actually be built.
What information do you need to design my media wall?
To get started we need the wall width and ceiling height, the size of the television you plan to use, one or two photographs of the wall, and a rough idea of the finish and fire style you like. That is enough for an initial concept and a ballpark price; final measurements are confirmed at the survey stage.
How much does designing a media wall cost?
Initial concept discussion and quotation carry no charge. There is a survey fee for a full measured site survey and a fee for detailed CAD drawings, both of which are set out clearly before you commit and credited against your order when you proceed.
What TV size should I plan my media wall around?
As a rule of thumb, viewing distance in metres multiplied by roughly twenty gives a comfortable screen size in inches — so a three metre viewing distance suits a 60 to 65 inch screen. We always design the recess with tolerance so a future, slightly larger television will still fit without rebuilding the unit.
How long does the whole design and build process take?
Typically four to eight weeks from approved drawings to installation. Design and survey usually take one to two weeks, manufacture three to five weeks, and the installation itself is normally completed in a single day for a standard media wall.
Send Us Your Room
And We'll Draw the Design
Submit an enquiry with your wall width, ceiling height, TV size and a photo of the space. We'll come back with a design direction and a fixed price.